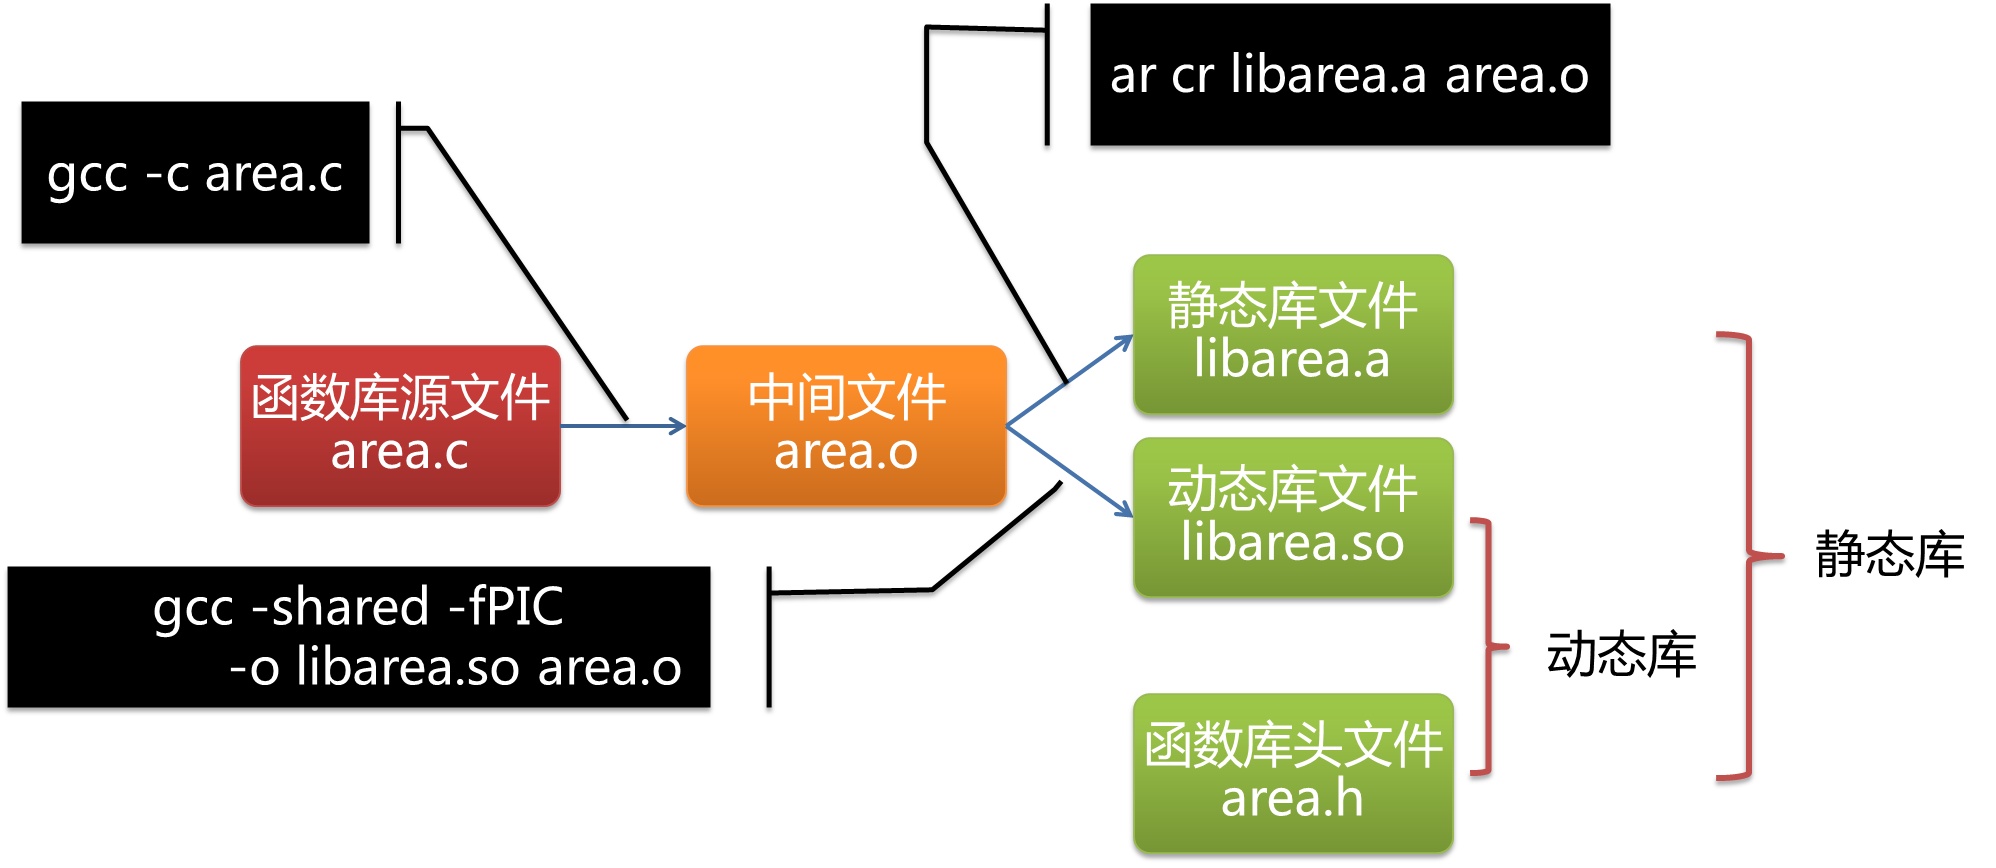
Makefile 在开源项目中还是相当的常见的,熟悉他的基本语法,还是很有必要的,其次是Makefile相对于shell脚本的优点就是他的关联性,和前置条件等都很好的解决的构建链条的问题。有些学c/cpp的同学可能比较熟悉,我们这个核心不关注于这个,主要是使用在日常中
make 一些cli参数 使用 -n 参数,让 make 命令输出将要执行的操作步骤,而不是真正执行这些操作;
1
2
3
4
5
➜ makefile git:(master) ✗ touch Makefile2 ➜ makefile git:(master) ✗ make -n rm -f Makefile1 Makefile2 Makefile3 ➜ makefile git:(master) ✗ ls Makefile Makefile1 Makefile2
使用 -f 参数,后面可以接一个文件名,用于指定一个文件作为 makefile 文件。如果没有使用 -f 选项,则 make 命令会在当前目录下查找名为 makefile 的文件,如果该文件不存在,则查找名为 Makefile 的文件。
Makefile文件
1
2
3
4
include a.make b.makeall: echoa echob @echo hello
a.make 文件
b.make 文件
执行
1) 可以发现include却是是把它完完全全的copy到了头部
1 2 ➜ makefile git:(master) ✗ make hello a
2)继续,完全符合
1 2 3 4 ➜ makefile git:(master) ✗ make all hello a hello b hello
makefile一些环境变量 MAKE 其实就是你的make环境变量的,which make 即可
1 2 3 4 .PHONY : allall: @echo "make路径: $(MAKE) "
输出
1 2 ➜ makefile git:(master) ✗ make make路径: /Library/Developer/CommandLineTools/usr/bin/make
RM 这个主要是当作 rm -f参数
1 2 3 4 .PHONY: all clean: $ (RM) Makefile1 Makefile2 Makefile3
输出:
1 2 ➜ makefile git:(master) ✗ make rm -f Makefile1 Makefile2 Makefile3
MAKEFILE_LIST MAKEFILE_LIST的变量, 它是个列表变量, 在每次make读入一个make文件时, 都把它添加到最后一项,gnu make 有效。
1 2 3 all: @echo "当前makefile: $(MAKEFILE_LIST) " @$(MAKE) -f Makefile2
1 2 all: @echo "当前makefile: $(MAKEFILE_LIST) "
输出
1 2 3 ➜ makefile git:(master) ✗ make 当前makefile: Makefile 当前makefile: Makefile2
所以依靠这个可以获取当前路径,但是目前没有模拟出 MAKEFILE_LIST 多个列表
1 2 3 4 5 6 7 8 9 10 11 12 13 .PHONY :first: @echo $(MAKEFILE_LIST) second: @echo $(lastword $(MAKEFILE_LIST) ) third: @echo $(realpath $(lastword $(MAKEFILE_LIST) ) ) latest: first second third @echo $(shell dirname $(realpath $(lastword $(MAKEFILE_LIST) ) ))
执行
1 2 3 4 5 ➜ go-source git:(master) ✗ make latest Makefile Makefile /Users/fanhaodong/go/code/go-source/Makefile /Users/fanhaodong/go/code/go-source
makefile 文件书写规则 makefile 文件由一组依赖关系 和规则 构成。每个依赖关系都由一个目标(即将要创建的文件)和一个该目标所依赖的源文件组成;规则描述了如何通过这些依赖文件创建目标。简单的来说,makefile 文件的写法如下:
1 2 3 4 target: prerequisites command1 command2 ...
其中,target 是即将要创建的目标(通常是一个可执行文件),target 后面紧跟一个冒号,prerequisite 是生成该目标所需要的源文件(依赖),一个目标所依赖的文件可以有多个,依赖文件与目标之间以及各依赖文件之间用空格或制表符 Tab 隔开,这些元素组成了一个依赖关系 。随后的命令 command 就是规则 ,也就是 make 需要执行的命令,它可以是任意的 shell 命令。另外,makefile 文件中,注释以 # 号开头,一直延续到该行的结束 。
比如下面这个,target就是hello, prerequisite是 hello.c的文件
1 2 3 4 hello: hello.c $(CC) -o hello.s -S hello.c $(CC) -o hello.o -c hello.s $(CC) -o hello hello.o
构建c项目 1 2 3 4 5 6 7 8 9 10 11 12 13 all: test test: test.o anotherTest.o gcc -Wall test.o anotherTest.o -o test test.o: test.c gcc -c -Wall test.c anotherTest.o: anotherTest.c gcc -c -Wall anotherTest.c clean: rm -rf *.o test
GNU的make工作时的执行步骤如下:
读入所有的Makefile。 读入被include的其它Makefile。 初始化文件中的变量。 推导隐晦规则,并分析所有规则。 为所有的目标文件创建依赖关系链。 根据依赖关系,决定哪些目标要重新生成。 执行生成命令。 1-5步为第一个阶段,6-7为第二个阶段。第一个阶段中,如果定义的变量被使用了,那么,make会把其展开在使用的位置。但make并不会完全马上展开,make使用的是拖延战术,如果变量出现在依赖关系的规则中,那么仅当这条依赖被决定要使用了,变量才会在其内部展开。
当然,这个工作方式你不一定要清楚,但是知道这个方式你也会对make更为熟悉。有了这个基础,后续部分也就容易看懂了。
申明变量 = 类似宏一样,他会对变量进行引用,在执行时扩展,允许递归扩展:= 如果变量申明符合先来后到,和 =含义一样,但是如果 申明a引用了b但是b还没有申明,此时认为b为空1 2 3 4 5 6 7 8 9 a = $(b) + 1 b = 2 c := $(d) + 1 d = 2 all: @echo $(a) @echo $(c)
输出
1 2 3 ➜ makefile git:(master) ✗ make 2 + 1 + 1
奇怪的现象: 可以发现我们申明a变量后,但是输出的时候却是 100 ,可以发现cli传递的优先级最高,不可以被覆盖
1 2 3 ➜ makefile git:(master) ✗ make a=100 100 + 1
?= 如果a变量前面已经申明过了,那么后面 a ?= xxx 则因为前面已经申明了a,所以不进行赋值,也就是 a?=xxxx无效,如果前面没有申明则有效1 2 3 4 5 A = hello A ?= hello world all: @echo $(A)
输出:hello
+= 这个类似于 a+=1 , 意思就是在原来的基础上 += ,很方便,下面提供demo1 2 3 4 5 6 build_args := -race ifeq ($(vendor) ,true) build_args += -mod=vendor endif all: @echo $(build_args)
输出:
1 2 ➜ makefile git:(master) ✗ make vendor=true -race -mod=vendor
命令行参数 执行:
1 2 ➜ makefile git:(master) ✗ make arg=ruoyu ruoyu
执行函数 1、call + define 宏定义 类似于C语言的宏定义
1 2 3 4 5 6 7 define build sh ./build.sh $(1) ./bin/$(strip $(2) ) endef go-build: pre $(call build, cmd/go-build/main.go, go-build)
2、自带函数 格式 $(<命令> <参数>)
1 2 all: @echo $(lastword 1 2 3)
输出
1 2 ➜ makefile git:(master) ✗ make 3
3、调用shell函数 1 2 all: @echo $(shell dirname /data/test)
执行
1 2 ➜ makefile git:(master) ✗ make /data
Makefile文件的语法 1 2 <target> : <prerequisites> [tab] <commands>
target: 目标,支持模式匹配 prerequisites:前置条件,可以有多个,支持模式匹配 commands: 前面必须有 tab ,是shell命令/makefile函数命令 1、注释 注释一般使用 # 开头表示,但是如果注释在目标的命令包含
执行
1 2 ➜ makefile git:(master) ✗ make # hello
2、关闭回声 这个其实很简单,就是在执行shell命令的时候,往往会打印日志,所以这里提供了很好的解决方式,使用 @ 符号
1 2 all: echo "hello world"
执行后会发现,每次执行的时候都会打印回声
1 2 3 ➜ makefile git:(master) ✗ make echo "hello world" hello world
所以可以将makefile文件改成以下
1 2 all: @echo "hello world"
输出
1 2 ➜ makefile git:(master) ✗ make hello world
3、通配符 和bash一样,主要有 * 等通配符,主要是在 shell脚本中使用
1 2 3 4 new: for x in {1,2,3,4};do touch $$x.test ;done clean: $(RM) *.test
执行
1 2 3 4 5 6 7 8 9 10 ➜ makefile git:(master) ✗ make new for x in {1,2,3,4};do touch $x.test ;done ➜ makefile git:(master) ✗ ls | grep test 1.test 2.test 3.test 4.test ➜ makefile git:(master) ✗ make clean rm -f *.test ➜ makefile git:(master) ✗ ls | grep test
4、模式匹配 主要是对文件名的支持!主要是在 目标和依赖中使用, 使用匹配符%,可以将大量同类型的文件,只用一条规则就完成构建。
等同于
不懂的可以看一下这篇文章,对比一下 模式匹配和通配符的区别 : https://blog.csdn.net/BobYuan888/article/details/88640923
理解模式匹配必须了解下面这四个
$@:目标的名字
$^:构造所需文件列表所有所有文件的名字
$<:构造所需文件列表的第一个文件的名字
$?:构造所需文件列表中更新过的文件
大致原理:
我要找f1.o的构造规则,看看Makefile中那个规则符合。 然后找到了%.o:%.c 来套一下来套一下 %.o 和我要找的 f1.o 匹配 套上了,得到%=f1。 所以在后面的%.c就表示f1.c了。 OK进行构造 1、例子一(编译c文件)
1 2 3 4 5 6 7 %.o: %.c %.h @echo "目标的名字: $@ , 依赖的第一个文件: $< , 依赖的全部文件: $^ , 所更新的文件: $? " $(CC) -o $@ -c $< all: utils.o @echo "编译。。。" clean: $(RM) *.i *.s *.o main
执行,可以看到完全符合我们的例子
1 2 3 目标的名字: utils.o, 依赖的第一个文件: utils.c , 依赖的全部文件: utils.c utils.h, 所更新的文件: utils.c utils.h cc -o utils.o -c utils.c 编译。。。
for循环 1、makefile: foreach循环 语法: $(foreach <var>, $(g_var), <command1>;<command2>) , 这里需要变量引用需要使用 $()
1 2 3 4 5 6 7 8 list := $(shell ls) all: @$(foreach item,$(list) ,\ echo $(item) ;\ echo $(realpath $(item) ) ;\ echo "====================" ;\ )
输出:
1 2 3 4 5 6 7 8 9 10 ➜ makefile git:(master) ✗ make Makefile /Users/fanhaodong/note/note/demo/makefile/Makefile ==================== Makefile1 /Users/fanhaodong/note/note/demo/makefile/Makefile1 ==================== Makefile2 /Users/fanhaodong/note/note/demo/makefile/Makefile2 ====================
3、shell:for 循环 1 2 3 4 5 6 list := $(shell ls) all: @for x in $(list) ; do\ echo $$x;\ done
记住一点就好, $ 符号转移需要使用 $$
执行
1 2 3 4 5 6 ➜ makefile git:(master) ✗ make mfor Makefile Makefile1 Makefile2 a.make b.make
if 函数 1、makefile: if 函数 命令格式: $(if <condition>, <yes do1>;<yes do2>, <no do1>;<no do2>)
1 2 all: @$(if $(shell command -v $(arg) ) ,echo command $(arg) is exist,echo command $(arg) is not exist)
执行
1 2 3 4 ➜ makefile git:(master) ✗ make arg=go command go is exist ➜ makefile git:(master) ✗ make arg=go1 command go1 is not exist
2、shell: if 函数 1 2 3 4 5 6 all: @if [ `command -v $(arg) ` ];then\ echo "command [$(arg) ] is exist" ;\ else \ echo "command [$(arg) ] is not exist" ;\ fi
执行
1 2 3 4 ➜ makefile git:(master) ✗ make arg=go command [go] is exist ➜ makefile git:(master) ✗ make arg=go1 command [go1] is not exist
执行多个命令 1 2 3 4 echo: @echo hello world echo2: @echo hello world 2
执行:
1 2 3 ➜ makefile git:(master) ✗ make echo echo2 hello world hello world 2
宏定义 1 2 3 4 5 6 7 8 9 10 11 12 13 14 15 16 17 define echo echo "hello, $(1)!" endef ARG := ifdef arg ARG := $(arg) else ARG := NULL endif all: print @$ (call echo ,"world" ) @echo $(ARG) print: @echo "arg: $(arg)"
执行
1 2 3 4 ➜ makefile git:(master) ✗ make arg=world arg: world hello, world! world
系统环境变量 申明推荐: export <变量名称> , 获取使用 ${<变量名称>}
1 2 3 4 5 GOPROXY := https://goproxy.cn,direct export GOPROXY all: @echo ${GOPROXY}
编译C项目 c项目往往很复杂,设计到 预编译,编译,汇编,链接 的过程
1、文件 (头文件、main文件) 1、utils.h
1 2 3 4 5 6 #ifndef _ADD_H_ #define _ADD_H_ int add (int a,int b) #endif
2、utils.c
1 2 3 int add (int x ,int y) return x+y; }
3、main.c
注意:头文件的寻找方式
先搜索当前目录 然后搜索-I指定的目录,例如 -I ./head 再搜索gcc的环境变量CPLUS_INCLUDE_PATH(C程序使用的是C_INCLUDE_PATH) 最后搜索gcc的内定目录 1 2 3 4 5 6 7 8 #include <stdio.h> #include "utils.h" int main (int argc, char const *argv[]) printf ("1+2 = %d\n" ,add(1 ,2 )); return 0 ; }
假如 .h 文件放在 head 目录
1 2 3 4 5 6 7 8 9 10 11 12 ➜ cpp git:(master) ✗ ls head utils.h # 可以发现编译异常,异常时 .h文件未找到 ➜ cpp git:(master) ✗ gcc -c main.c -o main.o main.c:2:10: fatal error: 'utils.h' file not found # include "utils.h" ^~~~~~~~~ 1 error generated. # 修改 -I 参数可以发现通过 ➜ cpp git:(master) ✗ gcc -I ./head -c main.c -o main.o ➜ cpp git:(master) ✗ ls | grep main.o main.o
2、预编译 -E -E:预编译,这一步主要是将头文件,宏定义展开到文件,是文本形式
1 2 3 4 5 6 7 8 9 10 11 12 13 14 15 ➜ cpp git:(master) ✗ gcc -E main.c -o main.i ➜ cpp git:(master) ✗ tail -f 10 main.i tail: 10: No such file or directory ==> main.i <== # int add (int a,int b); # 3 "main.c" 2 int main(int argc, char const *argv[]) { printf("1+2 = %d\n",add(1,2)); return 0; }
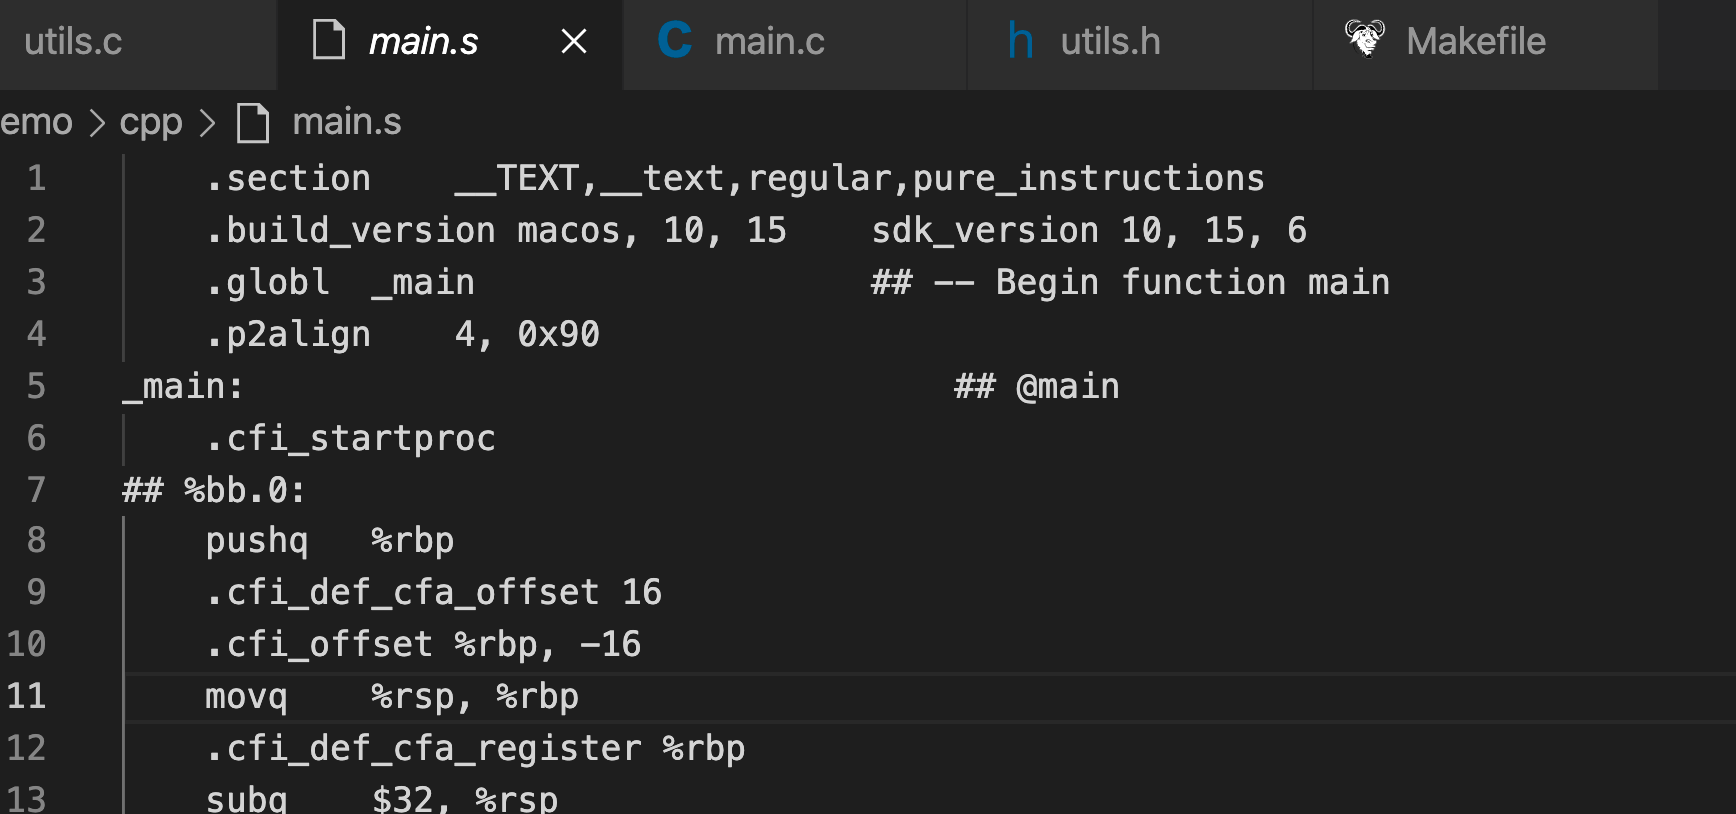
3、编译 -S 编译为汇编代码,是文本形式
1 ➜ cpp git:(master) ✗ gcc -S main.i -o main.s
4、汇编 -c 就是编译成二进制的汇编文件,是可重定位目标程序,属于二进制文件
1 2 3 4 5 6 7 8 9 10 11 12 13 14 15 16 17 18 19 20 21 22 23 24 25 26 27 28 29 30 31 32 33 34 35 36 37 38 39 40 ➜ cpp git:(master) ✗ gcc -c main.s -o main.o ➜ cpp git:(master) ✗ hexdump -C main.o 00000000 cf fa ed fe 07 00 00 01 03 00 00 00 01 00 00 00 |................| 00000010 04 00 00 00 08 02 00 00 00 20 00 00 00 00 00 00 |......... ......| 00000020 19 00 00 00 88 01 00 00 00 00 00 00 00 00 00 00 |................| 00000030 00 00 00 00 00 00 00 00 00 00 00 00 00 00 00 00 |................| 00000040 b0 00 00 00 00 00 00 00 28 02 00 00 00 00 00 00 |........(.......| 00000050 b0 00 00 00 00 00 00 00 07 00 00 00 07 00 00 00 |................| 00000060 04 00 00 00 00 00 00 00 5f 5f 74 65 78 74 00 00 |........__text..| 00000070 00 00 00 00 00 00 00 00 5f 5f 54 45 58 54 00 00 |........__TEXT..| 00000080 00 00 00 00 00 00 00 00 00 00 00 00 00 00 00 00 |................| 00000090 42 00 00 00 00 00 00 00 28 02 00 00 04 00 00 00 |B.......(.......| 000000a0 d8 02 00 00 03 00 00 00 00 04 00 80 00 00 00 00 |................| ➜ cpp git:(master) ✗ objdump -d main.o main.o: file format Mach-O 64-bit x86-64 Disassembly of section __TEXT,__text: 0000000000000000 _main: 0: 55 pushq %rbp 1: 48 89 e5 movq %rsp, %rbp 4: 48 83 ec 20 subq $32, %rsp 8: c7 45 fc 00 00 00 00 movl $0, -4(%rbp) f: 89 7d f8 movl %edi, -8(%rbp) 12: 48 89 75 f0 movq %rsi, -16(%rbp) 16: bf 01 00 00 00 movl $1, %edi 1b: be 02 00 00 00 movl $2, %esi 20: e8 00 00 00 00 callq 0 <_main+0x25> 25: 48 8d 3d 16 00 00 00 leaq 22(%rip), %rdi 2c: 89 c6 movl %eax, %esi 2e: b0 00 movb $0, %al 30: e8 00 00 00 00 callq 0 <_main+0x35> 35: 31 c9 xorl %ecx, %ecx 37: 89 45 ec movl %eax, -20(%rbp) 3a: 89 c8 movl %ecx, %eax 3c: 48 83 c4 20 addq $32, %rsp 40: 5d popq %rbp 41: c3 retq
5、链接 对于c/cpp语言来说,最难的就是链接了!这里也设计到隐晦规则了,首先 .o 是符合 main.o, utils.o的,所以会执行 两次 cc,最终链接成功
1 2 3 4 5 6 7 8 9 10 11 12 13 14 15 16 17 .PHONY : all cleanCC := gcc %.o: %.c $(CC) -c $< -o $@ all: install run clean install: utils.o main.o gcc -o main utils.o main.o run: ./main clean: $(RM) *.i *.s *.o main
执行
1 2 3 4 5 6 7 ➜ cpp git:(master) ✗ make gcc -c utils.c -o utils.o gcc -c main.c -o main.o gcc -o main utils.o main.o ./main 1+2 = 3 rm -f *.i *.s *.o main
帮助 如果你想写help,可以使用下面那个表达式
1 2 3 4 5 6 7 8 9 .PHONY : helpecho: ## 打印echo @echo "hello" all: ## 打印echo1 help: ## 帮助 @awk 'BEGIN {FS = ":.*?## " } /^[a-zA-Z_-]+:.*?
其实很简单,了解 awk 语法的话,知道 awk '条件 动作' 文件名 所谓条件就是正则表达式,分隔符是:.*?##,然后匹配的条件是以 字母开头的
1 2 3 4 [root@19096dee708b data]# cat demo.txt 11 22 111 22 33
匹配一下·
1 2 3 4 [root@19096dee708b data]# awk '{printf "$1=%s $2=%s\n",$1,$2}' demo.txt $ 1=11 $2 =22 $ 1=111 $2 = $ 1=22 $2 =33
我们要拿到我们的结果!所以需要匹配有空格的,匹配空格就是 \s
1 2 3 [root@19096dee708b data]# awk '/\s/ {printf "$1=%s $2=%s\n",$1,$2}' demo.txt $ 1=11 $2 =22 $ 1=22 $2 =33


